10 Essential Tips for Successful Silicone Dip Molding Techniques
Silicone dip molding is a versatile and innovative manufacturing process that has gained significant popularity in various industries. This technique involves immersing an object in liquid silicone to create a durable and flexible coating that can enhance the functionality, aesthetics, and protection of the item. As the demand for high-quality silicone products continues to rise, understanding the essential tips for successful silicone dip molding is paramount for manufacturers and DIY enthusiasts alike.
In this article, we will explore ten critical tips that can help you navigate the complexities of silicone dip molding, ensuring consistent and optimal results. From selecting the right silicone material to mastering the dipping process, each tip is designed to improve your technique and efficiency. Whether you are creating custom parts, coatings, or prototypes, these insights will empower you to elevate your silicone dip molding projects to new heights. Join us as we delve into the intricate world of silicone dip molding and discover how to refine your skills for maximum impact.
Understanding Silicone Dip Molding: Basics and Benefits
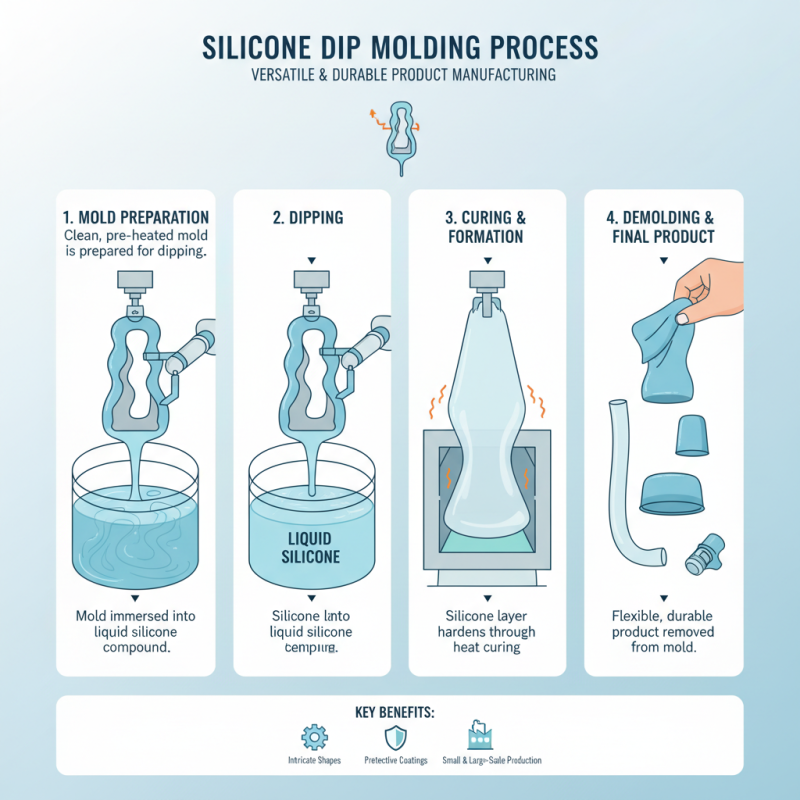
Silicone dip molding is a versatile and effective technique widely used in manufacturing to create durable, flexible products. Understanding the basics of this process is crucial for those looking to harness its benefits. At its core, silicone dip molding involves immersing a mold into liquid silicone, allowing it to form a layer that hardens upon curing. This method is particularly advantageous for producing intricate shapes or protective coatings on various substrates, making it ideal for both small-scale and large-scale production.
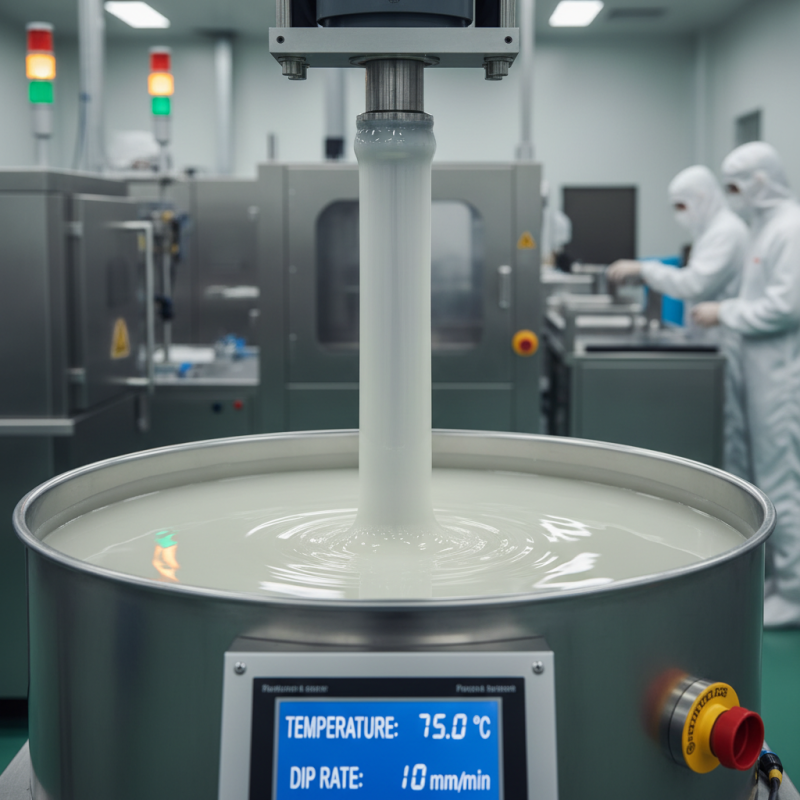
When beginning with silicone dip molding, one essential tip is to ensure that your molds are clean and properly prepared. Contaminants can affect the adherence of silicone, leading to defects in the final product. Additionally, temperature control during the molding process is vital; maintaining a consistent temperature helps achieve uniform silicone thickness and optimal curing times. Another tip is to experiment with different silicone formulations, as variations in hardness and flexibility can significantly impact the final product's performance in specific applications.
Choosing the Right Silicone Material for Your Project
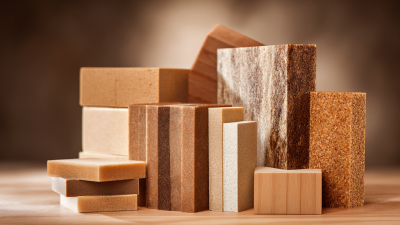
When embarking on a silicone dip molding project, selecting the right silicone material is crucial for achieving optimal results. Different silicone compounds can offer varying degrees of flexibility, durability, and heat resistance, making it essential to choose one that aligns with your project requirements. For instance, if your end product needs to withstand high temperatures, consider using high-temperature silicone that can endure those conditions without degrading.
When selecting silicone, always assess its Shore hardness. Softer silicones provide better flexibility and comfort for items like grips and handles, while firmer silicones are ideal for rigid applications. Additionally, consider the environmental exposure your molded item will face; if it’s going to be used outdoors, a UV-resistant silicone can enhance longevity.
Finally, don't overlook the importance of testing small batches before committing to a bulk order. This can help you evaluate the silicone’s performance, adhesion properties, and curing time, ensuring that it meets your specific needs. By meticulously choosing the right silicone material, you set a solid foundation for successful silicone dip molding.
Preparing Your Mold: Steps for Optimal Results
Preparing your mold is a crucial step in achieving optimal results in silicone dip molding. To start, it's essential to ensure that your mold is clean and free from any debris or residue. A meticulous cleaning process not only enhances the detail but also prevents imperfections in the final product. Another important factor is the use of a suitable release agent. Applying a silicone-based release agent will facilitate easier removal of the silicone from the mold and protect the mold’s surface integrity.
Additionally, consider the temperature of your materials before commencing the molding process. Both the silicone and the mold should ideally be at room temperature to ensure proper adhesion and curing. This simple yet effective tip can significantly influence the quality of your finished products. Lastly, having the right mix ratio for your silicone is vital; too much or too little of either component can affect the overall structure and performance. Remember, investing time in the preparation stage paves the way for successful results in your silicone dip molding projects.
Silicone Dip Molding Techniques: Key Factors for Success
This bar chart illustrates the impact of different preparation techniques on the success rate of silicone dip molding. The data reflects the effectiveness of each technique in achieving optimal results.
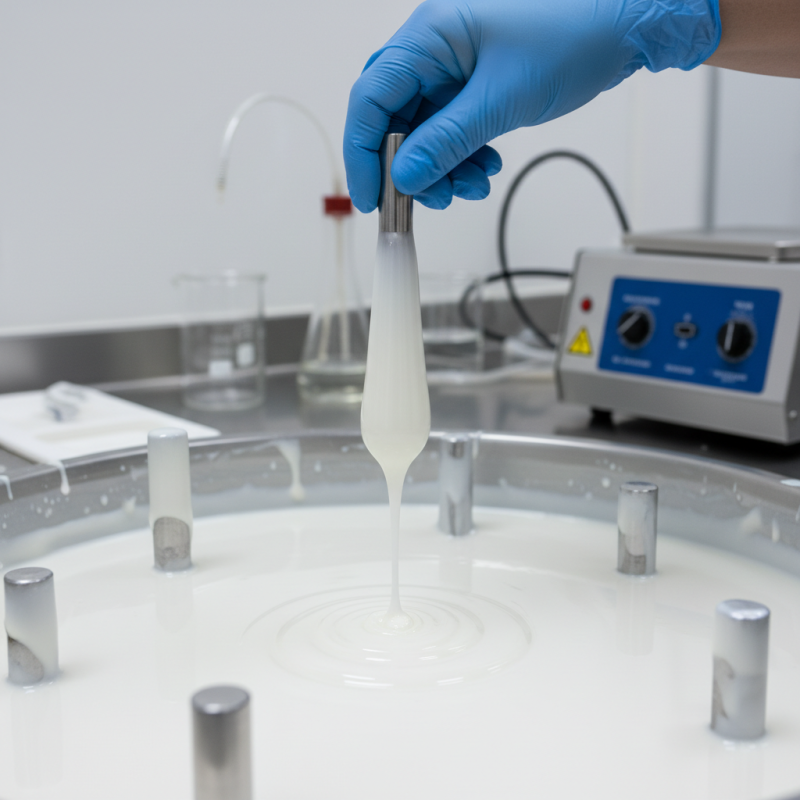
Mastering the Dip Techniques: Consistency and Coating
Mastering the dip techniques in silicone dip molding is crucial for achieving consistent and high-quality coatings. A study by the Polymer Engineering Institute indicates that consistency in dip thickness directly impacts the overall mechanical properties of the final product. An optimal dip thickness generally ranges from 0.5 to 1.5 millimeters, which ensures adequate flexibility while maintaining strength. Proper temperature control during the dip process can also prevent issues such as drip marks or uneven coatings, leading to a smoother finish.
Furthermore, the significance of proper curing times cannot be overstated. The Silicone Rubber Manufacturers Association reports that insufficient curing can result in subpar adhesion and increased chances of product failure. For dip molding applications, a curing time of at least 24 hours at the specified temperatures is recommended to ensure that the silicone fully sets. In addition, the use of quality silicone materials, as validated by a market analysis by Smithers Pira, shows that high-performance silicones enhance durability and longevity, thereby significantly reducing the likelihood of defects in final products. By focusing on these essential techniques, manufacturers can ensure a high level of consistency and quality in silicone dip molding.
Post-Molding Care: Finishing Touches and Best Practices
Post-molding care is crucial in the silicone dip molding process, significantly impacting the final product's quality and durability. According to industry research from the Silicone Industries Association, proper post-molding treatments can enhance the lifespan of silicone parts by up to 30%. This emphasizes the importance of effective finishing touches, such as cleaning, curing, and storage. It’s vital to ensure that the molded parts are adequately cured to maximize their strength and functionality.
One essential tip is to clean the molded items thoroughly before storage. Residue from the molding process can lead to surface imperfections or degradation over time. Utilize a gentle detergent and water solution to wipe down the items, followed by an appropriate drying method. Additionally, storing silicone products in a cool, dry environment can prevent premature aging, according to a study by the International Silicone Conference.
Another best practice to consider is applying a silicone-safe lubricant or release agent on the surface. This can significantly reduce friction and prevent sticking during usage. It’s reported that implementing this technique can improve functionality and user experience, making it a worthwhile step in your post-molding care strategy. By adhering to these best practices, manufacturers can ensure their silicone dip molded products not only meet but exceed performance expectations.
10 Essential Tips for Successful Silicone Dip Molding Techniques
| Tip No. |
Tip |
Description |
Best Practices |
| 1 |
Material Selection |
Choose the right silicone material for your project. |
Test different materials for flexibility and durability. |
| 2 |
Temperature Control |
Maintain an optimal temperature during the dipping process. |
Use thermometers to monitor temperatures closely. |
| 3 |
Prepping the Mold |
Ensure the mold is clean and free of debris. |
Use a brush or compressed air for cleaning. |
| 4 |
Dipping Technique |
Use a slow and steady dipping motion. |
Practice before starting production to achieve consistency. |
| 5 |
Layering |
Allow each layer to cure properly before dipping again. |
Use timers to track curing times accurately. |
| 6 |
Finishing Tools |
Use appropriate tools for trimming and finishing. |
Invest in high-quality blades and scissors. |
| 7 |
Surface Coating |
Consider applying a surface treatment for improved finish. |
Research coatings that enhance durability. |
| 8 |
Quality Control |
Inspect each molded item for defects. |
Implement a standardized inspection checklist. |
| 9 |
Storage Conditions |
Store finished products in suitable conditions. |
Control temperature and humidity to prevent damage. |
| 10 |
Documentation |
Keep detailed records of the molding process and materials used. |
Review documentation for future improvements. |