10 Essential Tips for Perfecting Plastisol Dip Coating Techniques?
In the world of manufacturing, perfecting plastisol dip coating techniques can significantly enhance product durability. Industry expert John Smith emphasizes, "Attention to detail is crucial in plastisol dip coating." His insight highlights the importance of precision and consistency in every step of the process.
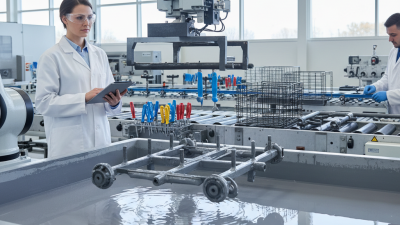
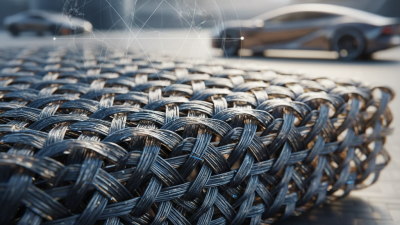
Plastisol dip coating involves immersing an object in a liquid plastisol solution. The method creates a durable, protective layer on the item. However, achieving the perfect finish is not always straightforward. Factors such as temperature, immersion time, and curing can greatly impact the quality of the final product.
It's important to note that even experienced professionals can encounter challenges. Common issues include uneven coating and air bubbles. These imperfections remind us that continuous learning and adaptation are vital to mastering plastisol dip coating techniques. Thus, understanding the intricacies of this process is essential for anyone looking to excel in this field.
Understanding Plastisol Dip Coating: Basics and Applications
Plastisol dip coating is a versatile technique used widely across various industries. This method involves immersing objects into a heated plastisol liquid, creating a protective and decorative layer. According to research, the global market for plastisol coatings is expected to grow significantly, driven by increasing demand in automotive and consumer goods sectors.
Understanding the basic principles of plastisol dip coating is crucial. The material itself is a PVC-based compound that becomes liquid when heated. It provides a thick, durable finish that enhances both aesthetic appeal and functionality. The process is not without challenges. Achieving uniform thickness can be tricky. Uneven coating may lead to weak points, affecting the overall durability of the product. Reports indicate that manufacturers often face issues with adhesion and surface imperfections during application.
The diversity of applications is impressive. Plastisol dip coatings are used for everything from tool handles to automotive parts. However, not every application yields perfect results. Variability in temperature and immersion time directly impacts the finish. Manufacturers must closely monitor these variables. Failure to do so often results in wasted materials and time. Quality control is a persistent challenge. Understanding these factors can help refine the process and enhance product reliability.
10 Essential Tips for Perfecting Plastisol Dip Coating Techniques
| Tip Number |
Tip Description |
Key Benefit |
| 1 |
Choose the right plastisol formulation for your specific application. |
Ensures optimal adhesion and finish quality. |
| 2 |
Thoroughly clean and prepare the surface before dipping. |
Maximizes bonding and durability of the coating. |
| 3 |
Maintain consistent temperature in the plastisol bath. |
Ensures uniform coating thickness. |
| 4 |
Control the dipping speed to avoid air bubbles. |
Produces a smoother surface finish. |
| 5 |
Observe the cooling phase after dipping. |
Prevents defects from rapid temperature changes. |
| 6 |
Use appropriate drying and curing techniques. |
Enhances durability and resistance of the coating. |
| 7 |
Experiment with different finishing techniques. |
Allows for a variety of surface textures and aesthetics. |
| 8 |
Regularly maintain and clean the dipping equipment. |
Ensures consistent quality in production. |
| 9 |
Train staff on the best dipping practices. |
Reduces errors and improves productivity. |
| 10 |
Stay updated on new technologies and trends in plastisol coating. |
Enhances competitive advantage and innovation. |
Choosing the Right Plastisol Material for Optimal Results
When it comes to plastisol dip coating, choosing the right material is crucial. Different formulations yield varying finishes, thicknesses, and durability. You might think a thicker coat is always better, but that can lead to runs and uneven coverage. Research shows that selecting the right viscosity is essential for achieving a smooth, uniform layer.
It’s also important to consider the application method. Are you dipping or spraying? Each technique may require a different type of plastisol. Dipping often works well with thicker materials, while spraying can utilize a more fluid mixture. However, with spraying, controlling the layer thickness can be tricky. You might end up with too much or too little if you're not careful.
Understanding the properties of the plastisol you’re using can significantly affect your results. Check the temperature resistance and flexibility. These qualities may vary widely among different products. Many beginners overlook this aspect, resulting in unsatisfactory outcomes. You could end up with a coating that chips easily or can’t withstand abrasion. Be prepared to test and refine your process.
Preparing Your Workpiece for Effective Plastisol Coating
Preparing your workpiece for effective plastisol coating is crucial. Start by ensuring the surface is clean and free of debris. Dust can hinder adhesion and lead to uneven coatings. Use a degreasing agent for metal surfaces. For wood, ensure there are no splinters or rough areas. Sand the surface to create a smooth finish. This step often goes unnoticed but is key to success.
After cleaning, inspect for imperfections. Small dents or scratches may seem insignificant but can affect the final result. Using a primer can help fill in minor flaws. Be mindful of temperature and moisture levels; they can impact how the plastisol adheres. Sometimes, the workspace is too humid or cold, leading to poor results. Even an experienced worker can overlook environmental factors, resulting in peeling or bubbling later on.
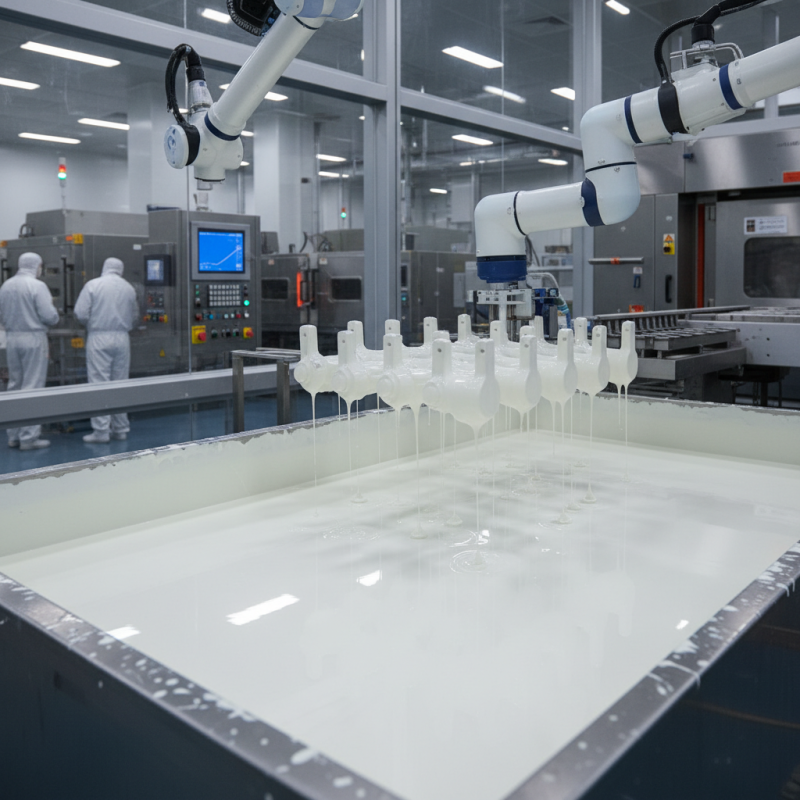
Remember to use hanging methods that prevent drips or unintentional touching of the workpiece. Ensure proper hanging and spacing to allow even coating. It’s easy to rush this part, but patience pays off. Conducting a test run on a scrap piece ensures your prep techniques work well. Every mistake provides a chance to learn and improve.
Mastering the Heating Process for Uniform Coating
Mastering the heating process is vital for achieving a uniform plastisol dip coating. The ideal temperature range often hovers between 350°F and 400°F. At these temperatures, the plastisol becomes fluid and allows for better adhesion to the surface. However, overheating can cause the material to degrade, which ultimately leads to a poor finish.
Pay attention to the heating time; too long can lead to uneven coating. To achieve consistency, consider using a thermal probe to monitor temperatures accurately. If you notice variations in thickness, it could be due to improper heating. Reflect on your process and make adjustments where necessary. Sometimes, a simple adjustment in heating duration can lead to a world of difference.
As you practice, be aware that every piece may not turn out perfectly. Experiment with different heating times and temperatures. Keep track of what works and what doesn't. This self-reflection will foster improvement and mastery over time. Don't be disheartened by imperfections; each attempt brings you closer to perfecting your technique.
Common Mistakes to Avoid in Plastisol Dip Coating
In the world of plastisol dip coating, avoiding common mistakes is crucial for achieving a flawless finish. One common error is failing to properly preheat the object before dipping. This can lead to uneven coating and bubbles forming in the final layer. Ensure that the item is at the right temperature, as this enhances adhesion and creates a smooth surface.
Another frequent issue is inadequate immersion time. Dipping an object for too short a duration may result in thin spots or weak sections in the coating. It's vital to follow the recommended time guidelines. Conversely, over-immersion can lead to excess dripping and pooling, which detracts from the overall appearance. Observing the process while being mindful of timings is essential.
Lastly, improper cooling methods can lead to warping or distortion. Allow the dipped item to cool at room temperature rather than forcing it. This helps maintain the integrity of the coating. Reflecting on these common pitfalls can help refine your technique. Investing time in understanding these details can transform your plastisol dip coating experience.